
A Simple Guide to Homemade Milk Kefir for Gut Health
If you’ve ever wondered how to make milk kefir, you’re in the right place. This creamy, slightly tangy fermented drink is a probiotic powerhouse that supports gut health and boosts immunity. Because it’s incredibly easy to prepare at home, even beginners can make it with just a few simple ingredients. In this guide, we’ll walk you through every step of the milk kefir recipe so you can enjoy this refreshing, nutrient-rich drink anytime.
Jump To :
- What Is Milk Kefir?
- Before You Begin: Understanding the Fermentation Process
- Supplies You’ll Need
- Ingredients
- Step-by-Step: How to Make Milk Kefir
- Troubleshooting and Tips
- Scaling, Resting, and Storing
- Flavoring Your Kefir
- Health Benefits probiotic kefir
- Creative Ways to Use Milk Kefir
- FAQs About Kefir
- Conclusion
What Is Milk Kefir?
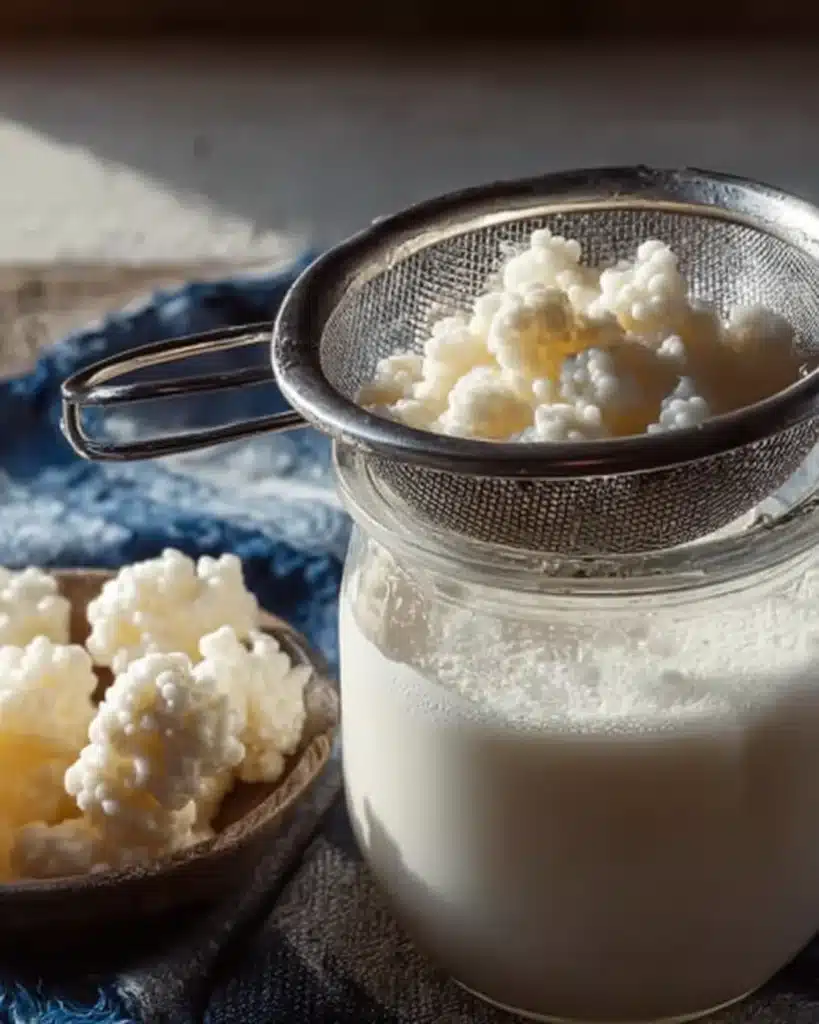
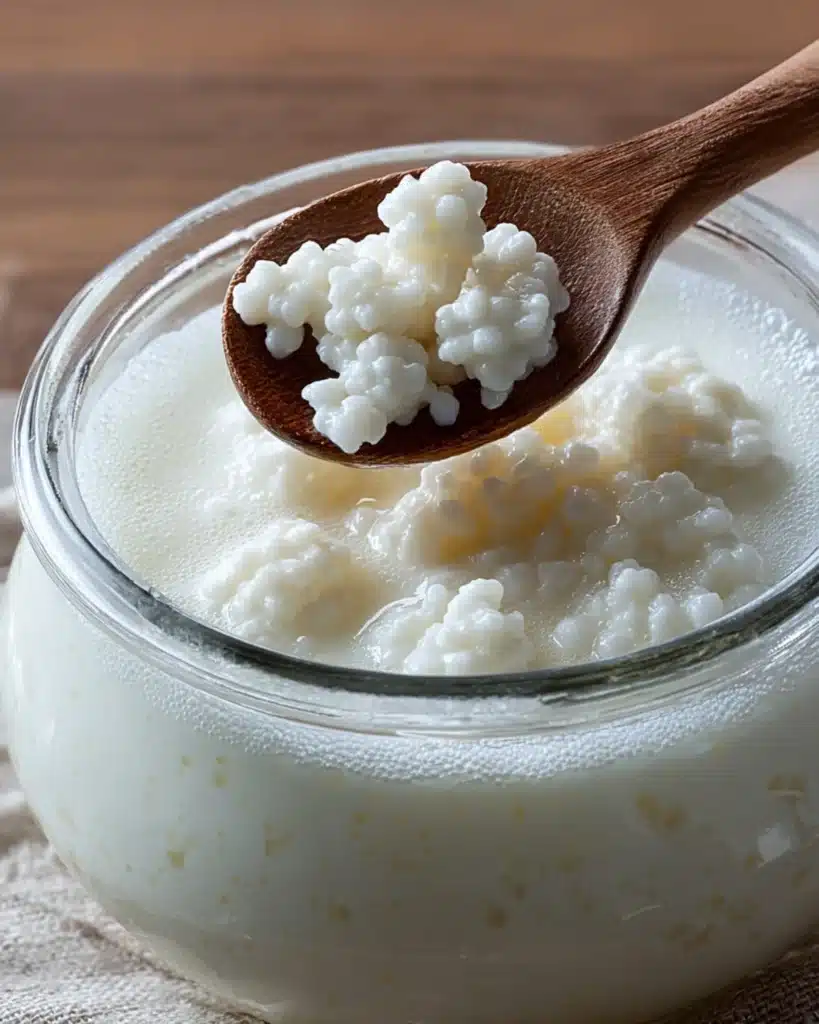
Milk kefir is a fermented dairy drink made by combining milk kefir grains, a live culture of beneficial bacteria and yeasts, with fresh milk. As the grains ferment the milk, they create a lightly fizzy, tangy beverage rich in probiotics, calcium, and protein. Unlike yogurt, milk kefir has a thinner consistency and contains a broader range of beneficial microbes, making it one of the most powerful cultured foods you can drink.
In addition, milk kefir is known for its versatility. You can enjoy it plain, blend it into smoothies, or even use it in cooking and baking. Because of its mildly sour taste and natural carbonation, it pairs well with fruits, oats, and even savory dishes. Regularly drinking milk kefir can help balance gut bacteria, improve digestion, and support overall wellness.
Before You Begin: Understanding the Fermentation Process
To get started, it’s essential to understand the milk kefir fermentation process. The fermentation begins when you add active kefir grains to milk. These grains consume the milk’s lactose, producing lactic acid and creating the drink’s distinct tart flavor. Because the process is temperature-sensitive, it’s best to ferment at room temperature (68 to 85°F). Warmer environments ferment faster, while cooler ones slow down the process. Therefore, monitoring your environment helps ensure consistency in taste and texture. For another delicious fermented dairy idea, check out how to make milk kefir.
When you first start making milk kefir, you might notice some variation in flavor or texture between batches. This is normal and part of the natural fermentation cycle. Over time, your grains will adapt to your milk type and environment, leading to more consistent results. The key is patience and maintaining proper hygiene during every step.
Supplies You’ll Need
To make perfect milk kefir every time, gather the following items:
- A glass jar (1-quart capacity)
- A non-metal stirring utensil
- A breathable cover (coffee filter or muslin cloth)
- A rubber band to secure the cover
- A nylon or stainless-steel mesh strainer
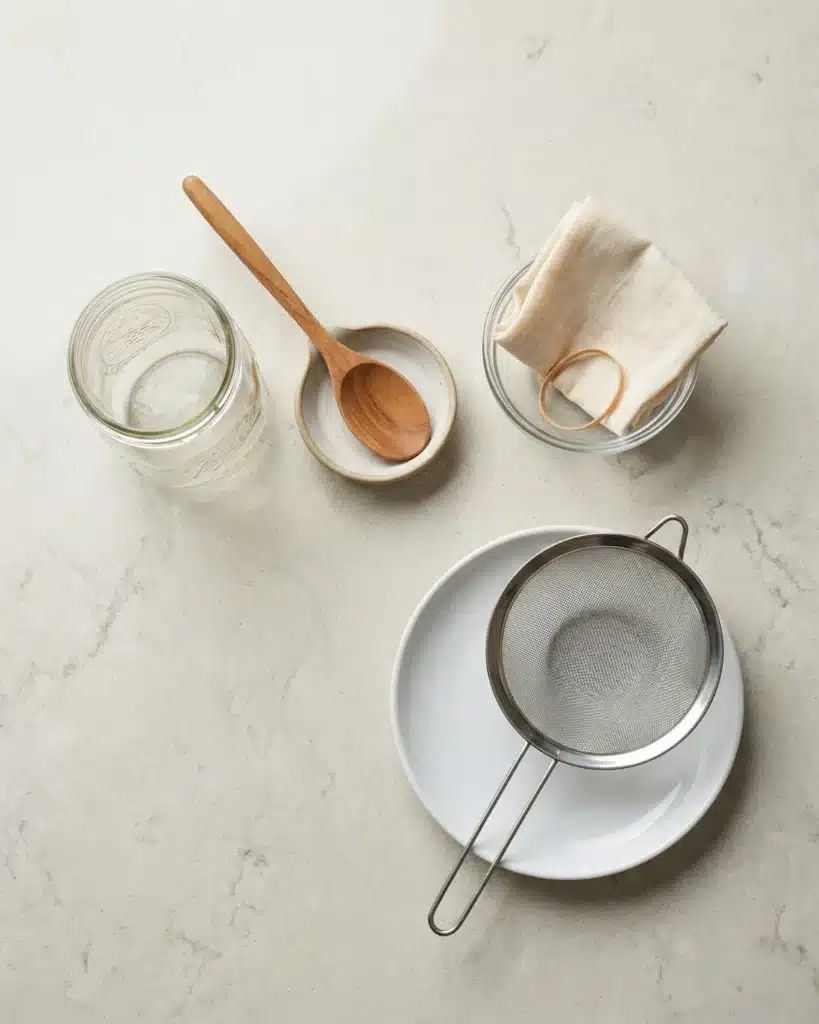
Using non-metal tools is crucial because metals can damage the delicate structure of the kefir grains. Also, always keep your equipment clean to maintain a healthy fermentation. Make sure to wash your jar with warm water and mild soap before use, then rinse thoroughly to remove any residue that could interfere with fermentation.
Ingredients
- 1 to 2 teaspoons of active milk kefir grains
- 2 cups of fresh milk (cow or goat, raw or pasteurized)
- Optional: 1 kefir starter kit for beginners
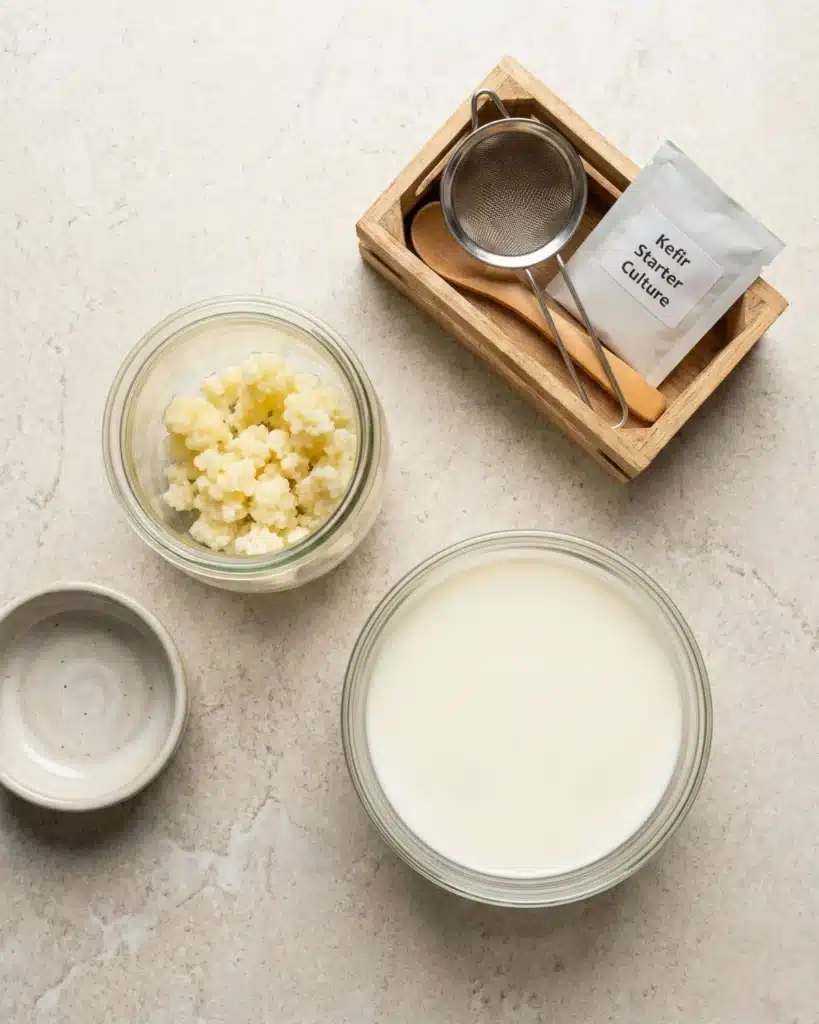
Fresh milk works best for fermentation. However, you can use full-fat or low-fat milk depending on your taste preference. Goat milk often produces a lighter, tangier kefir, while cow milk results in a creamier texture. Always avoid ultra-pasteurized milk, as it lacks the natural nutrients the grains need.
Step-by-Step: How to Make Milk Kefir
Step 1: Combine Milk and Kefir Grains
Pour the milk into the glass jar and gently add the kefir grains. Stir lightly using your non-metal utensil until the grains are evenly distributed. Because the grains float, make sure they’re submerged for even fermentation.
Step 2: Cover and Secure
Cover the jar with a breathable cloth and secure it using a rubber band. This prevents dust from entering while allowing air circulation for proper fermentation.
Step 3: Let It Ferment
Leave the jar at room temperature (68 to 85°F) for 12 to 24 hours. During this time, the milk kefir culture works its magic, turning the milk into a probiotic-rich drink. If your room is warmer, fermentation may complete faster, so keep an eye on the texture. The mixture will thicken slightly and develop a mild tangy aroma.
Step 4: Strain the Kefir
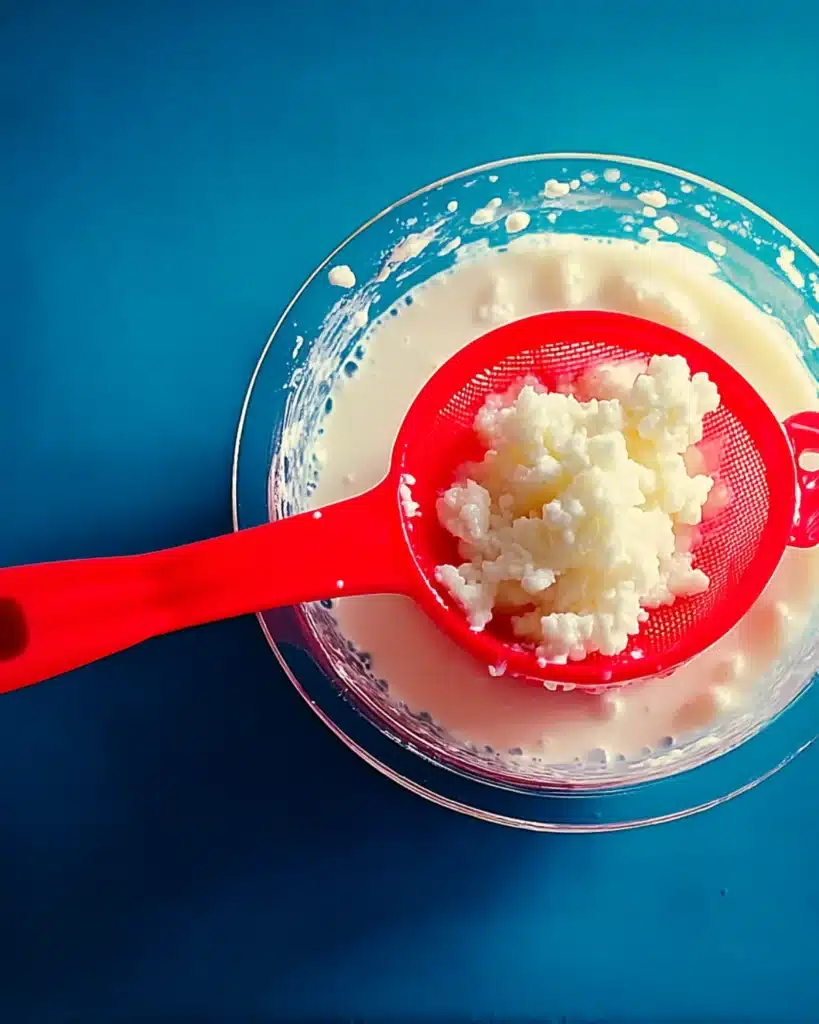
Once fermentation is complete, pour the mixture through your mesh strainer into another clean jar. The liquid that passes through is your ready-to-drink milk kefir, while the grains remain in the strainer. Stir gently to help separate them. Remember, avoid using metal strainers.
Step 5: Store and Reuse
Transfer the finished kefir to a sealed glass jar and refrigerate it. It will continue to thicken slightly as it chills. You can reuse the kefir grains immediately for your next batch. Simply add them to fresh milk and repeat the process.
Step 6: Taste and Adjust
When you taste your kefir for the first time, it should be pleasantly tangy with a mild fizz. If it’s too sour, shorten your fermentation time in the next batch. If it’s too thin, extend the fermentation by a few hours. Because every kitchen is different, experimenting helps you find your perfect balance.
Troubleshooting and Tips
Sometimes your kefir may turn out too thick or separate into curds and whey. Don’t worry; this simply means it fermented a bit longer than needed. Stir or blend it to restore a smooth texture. If your grains seem sluggish, try feeding them with fresh milk or placing them in a slightly warmer area to reactivate them. In addition, resting your grains in milk inside the refrigerator for a few days helps refresh their activity. For another probiotic-rich combination, boost your gut health by drinking kefir alongside banana oat muffins.
You can also adjust the creaminess of your kefir by experimenting with different types of milk. For thicker kefir, use full-fat milk or increase fermentation time. For a lighter drink, choose skim milk or shorten fermentation. Additionally, always avoid storing grains in a dry environment since they require constant moisture to remain active.
Scaling, Resting, and Storing
You can easily scale your milk kefir recipe by adjusting the milk-to-grain ratio. For smaller batches, use fewer grains with one cup of milk. To rest your grains, store them in milk inside a sealed jar in the refrigerator. They can rest safely for up to a week. If you’re taking a longer break, replace the milk every few days to keep the grains alive. When you’re ready to resume, bring them to room temperature and continue fermenting as usual.
If you ever need to take an extended break, you can dehydrate your grains for long-term storage. Spread them on parchment paper, air-dry them at room temperature, and store them in a sealed jar in the freezer. When you’re ready to use them again, rehydrate the grains in fresh milk for several cycles until active.
Flavoring Your Kefir
After the fermentation and straining process, you can flavor your kefir for variety. Because its tangy flavor pairs well with fruits, try adding:
- Strawberry puree
- Honey or maple syrup
- Alcohol-Free Vanilla Extract
- Cinnamon or cocoa powder
You can also blend your milk kefir into smoothies or use it to make kefir cheese. Adding natural flavorings after fermentation helps preserve the live probiotics. Therefore, avoid adding sweeteners or fruit before fermentation since that may interfere with the cultures. For more healthy morning inspiration, try adding a probiotic boost to your breakfast.
Another way to enhance your kefir experience is through secondary fermentation. After straining, pour the kefir into a sealed jar with fruit pieces, herbs, or spices, and leave it at room temperature for 6 to 8 hours. This process adds flavor depth and natural carbonation.
Health Benefits probiotic kefir
The health benefits of milk kefir are numerous. It’s rich in probiotics that promote gut health and support digestion. Because it’s full of calcium, vitamin B12, and protein, it’s a nutritious alternative to regular milk. Additionally, regular consumption may strengthen your immune system, improve nutrient absorption, and contribute to better overall wellness.
Research suggests that kefir may also support weight management, enhance bone density, and reduce inflammation. Its natural probiotics can help alleviate symptoms of lactose intolerance, making it easier for many people to enjoy dairy again. By including probiotic kefir in your daily routine, you nourish your body from the inside out.
Creative Ways to Use Milk Kefir
Beyond drinking it straight, there are endless ways to use milk kefir in your kitchen. You can substitute it for buttermilk in pancakes, muffins, or waffles for added probiotics. It also makes an excellent base for creamy salad dressings or homemade dips. Because it tenderizes meat, try using kefir in marinades for chicken or fish.
For dessert lovers, mix probiotic kefir with cocoa and honey for a light chocolate mousse or blend it with frozen fruit for a healthy ice cream alternative. The possibilities are limitless once you master the fermentation basics.
FAQs About Kefir
Kefir milk is a fermented dairy beverage made from live kefir grains. To learn more, read our full article what is kefir milk?.
Water kefir is non-dairy, lighter, and mildly sweet, while milk kefir is creamier and richer in probiotics. Explore the full comparison in Water kefir vs Milk kefir – which is better?.
Yes, milk kefir is packed with probiotics that help balance your gut flora. For a deeper dive into its health benefits, check is milk kefir good for you?.
You can use fruit purees, herbs, or natural sweeteners. Mix after fermentation to keep the probiotic cultures intact.
Conclusion
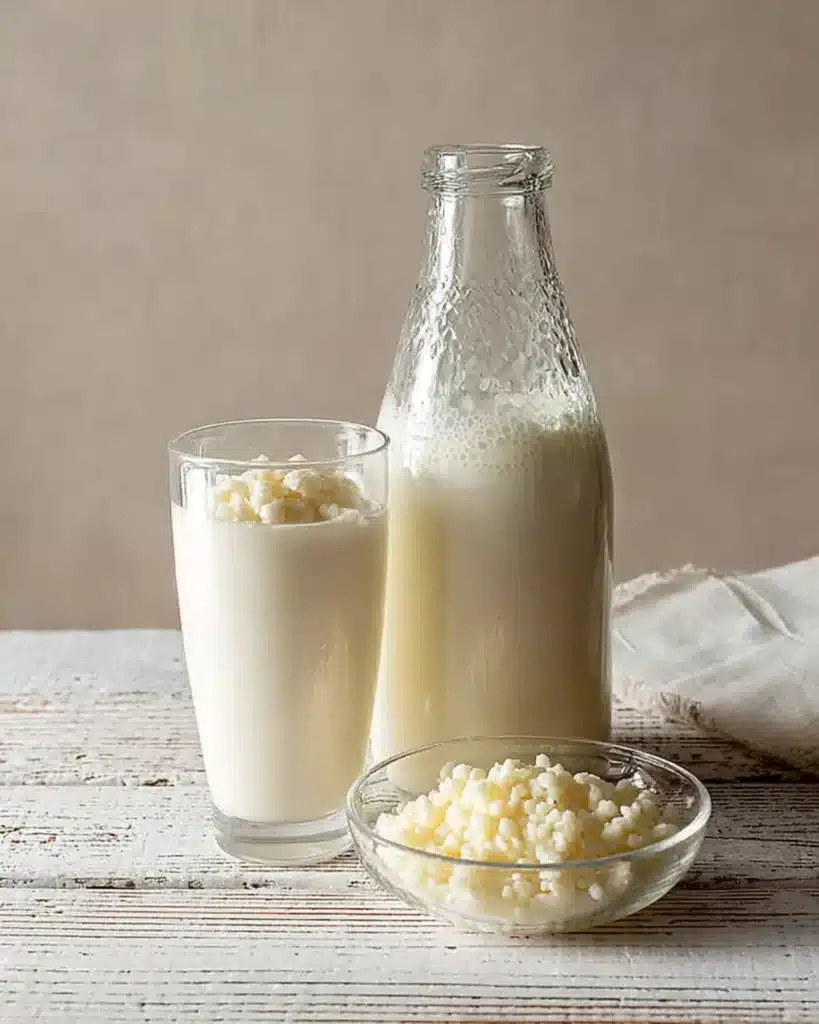
Making milk kefir at home is easier than it sounds. With a few simple tools, quality grains, and fresh milk, you can create a probiotic-rich drink that supports your digestion and adds a nutritious touch to your daily routine. Therefore, whether you enjoy it plain or flavored, this recipe will become a kitchen favorite.
In addition, once you establish a regular routine of fermenting and drinking probiotic kefir, you’ll find that it becomes a comforting part of your healthy lifestyle. It’s sustainable, affordable, and endlessly customizable. With practice, you can adjust each batch to your perfect level of tartness and thickness, creating a beverage uniquely yours.
Whether you’re a busy parent, a student grabbing drinks on the go, or anyone craving something refreshing and nourishing, this recipe fits the bill. Don’t forget to leave a comment or tag us with your kefir success! Follow Daily Tasty Recipe on Pinterest and Instagram for more inspiration.

How To Make Milk Kefir: Our Easiest Milk Kefir Recipe
- Total Time: 24 hours (fermentation)
- Yield: 2 cups 1x
Description
Learn how to make homemade milk kefir a creamy, probiotic-rich drink that boosts gut health, supports digestion, and strengthens immunity. This simple step-by-step guide walks you through fermenting milk kefir from scratch, with tips for flavoring, storing, and maintaining your kefir grains.
Ingredients
- 1 to 2 teaspoons active milk kefir grains
- 2 cups fresh milk (cow or goat)
- Optional: kefir starter kit for beginners
Instructions
- Pour milk into a clean glass jar and add kefir grains. Stir gently with a non-metal utensil.
- Cover the jar with a breathable cloth and secure it with a rubber band.
- Let the mixture ferment at room temperature (68–85°F) for 12–24 hours until slightly thickened and tangy.
- Strain the kefir through a nylon or stainless-steel mesh strainer into another jar, separating the grains from the liquid.
- Transfer the finished kefir to a sealed glass jar and refrigerate. Reuse the grains immediately for your next batch.
- Taste and adjust fermentation time in future batches for your preferred flavor and consistency.
Notes
Use only non-metal tools to protect the kefir grains. Avoid ultra-pasteurized milk. Adjust fermentation time based on your room temperature. You can flavor your kefir after straining with fruit puree, vanilla, or honey. For thicker kefir, use full-fat milk or ferment longer.
- Prep Time: 5 minutes
- Cook Time: 0 minutes
- Category: Beverage
- Method: Fermented
- Cuisine: Probiotic
Nutrition
- Serving Size: 1 cup
- Calories: 150
- Sugar: 12g
- Sodium: 90mg
- Fat: 8g
- Saturated Fat: 5g
- Unsaturated Fat: 3g
- Trans Fat: 0g
- Carbohydrates: 12g
- Fiber: 0g
- Protein: 8g
- Cholesterol: 25mg